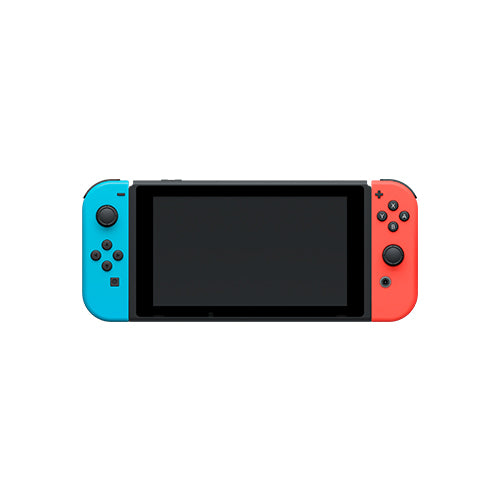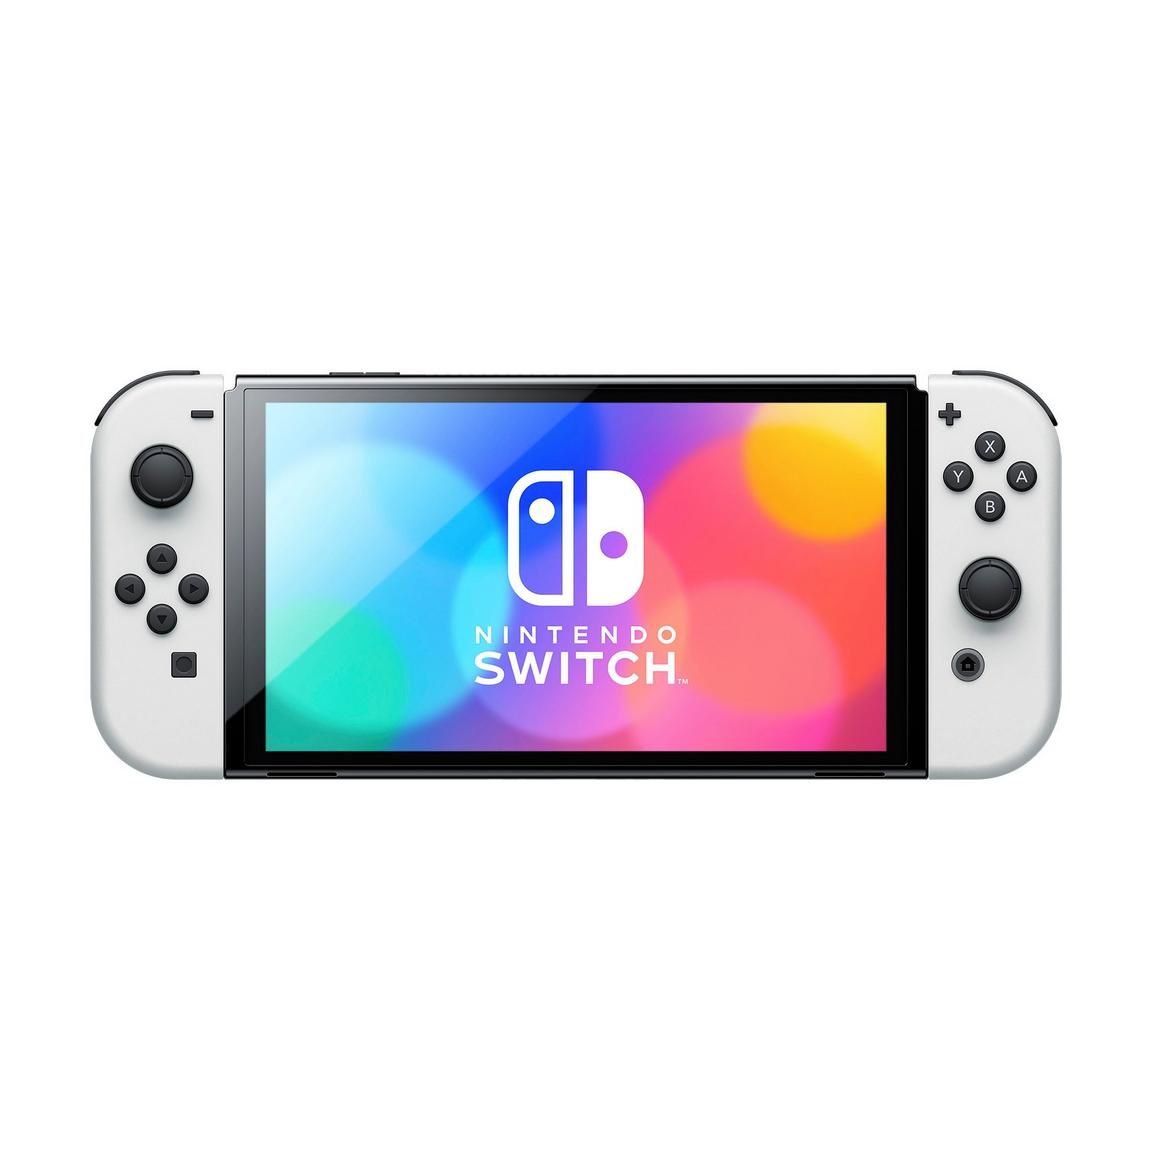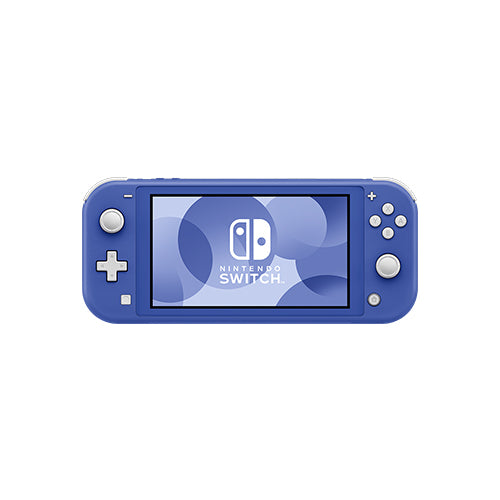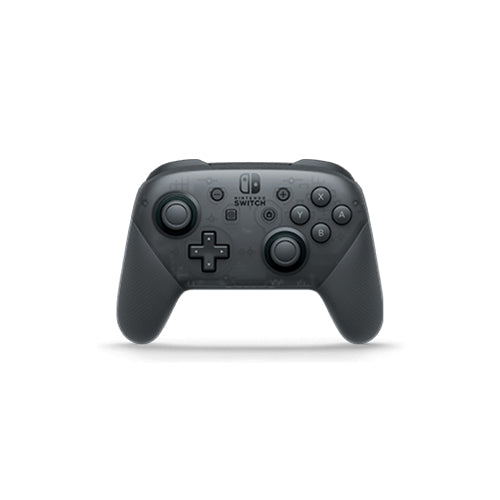

Step #1 - Prepare Your Device
- Wash your hands and the surface of your device with rubbing alcohol or a mild soap solution to remove any dust, dirt, or oils.
- Dry the surface completely with a lint-free cloth.
- Power off your device and remove any existing case or cover.
- What You'll Need: Squeegee Tool (or credit card), Isopropyl Alcohol, Cloth

Step #2 - Peel and Position
- Carefully peel back a small section of the skin that corresponds with numbered dot "1" in the section below.
- Align the skin with the corresponding edges of your device.
- Follow the numbers below (1, 2, 3, 4, etc.) and continue to peel back the skin in sections, sticking to your device as you go.
- Gently press the skin onto the surface, using the exposed section as a starting point for a perfect fit.
- If you make a mistake, don't worry. Here's how to handle it. If a section isn't perfectly aligned, slowly lift the skin from the corner closest to the mistake using a thin object like a guitar pick (avoid using your fingernails) and reapply that section.
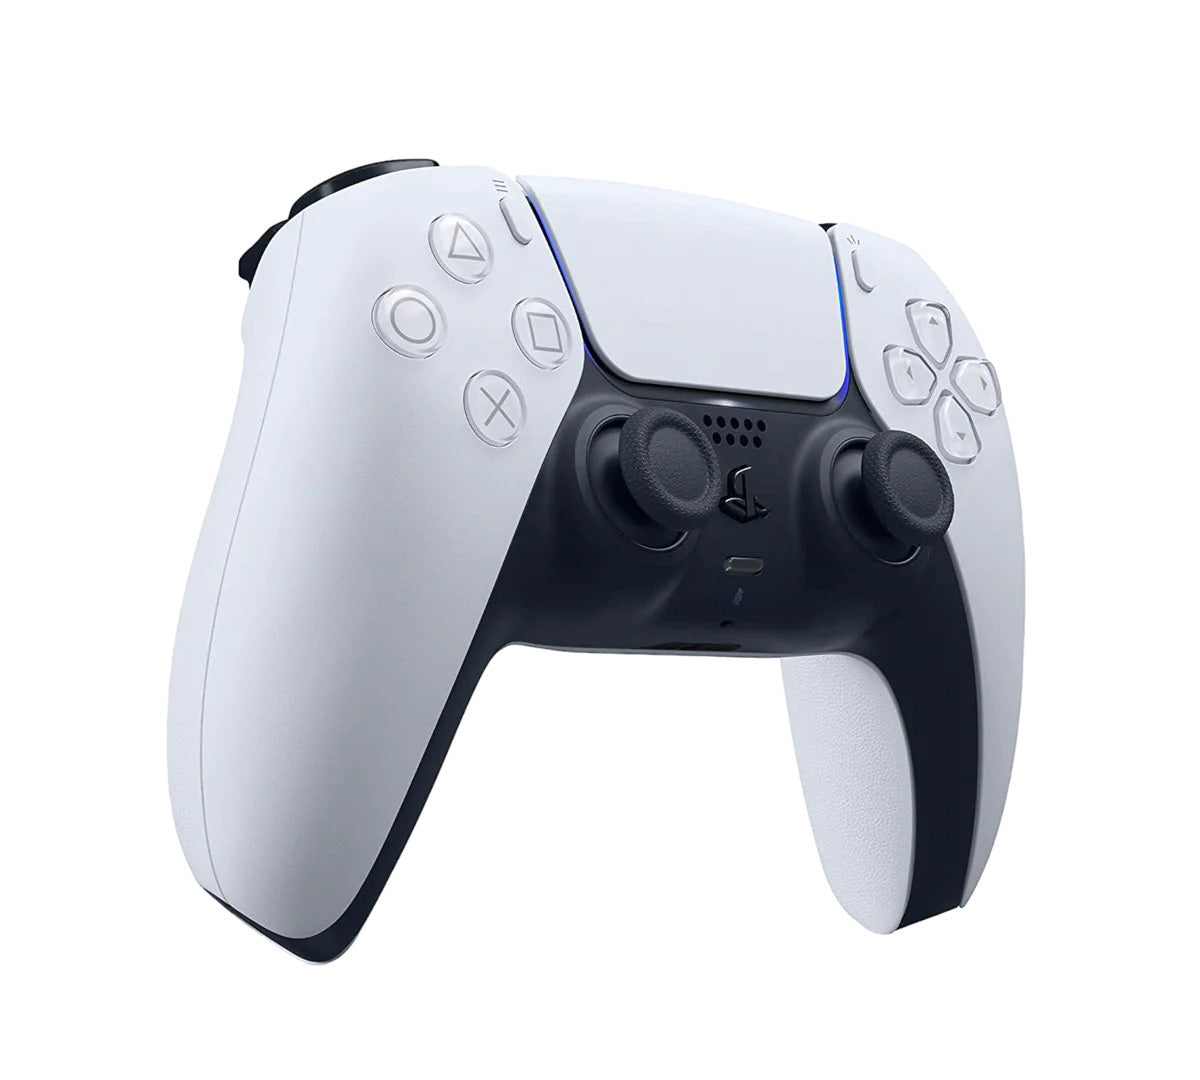
Follow Along: Screen + Handles
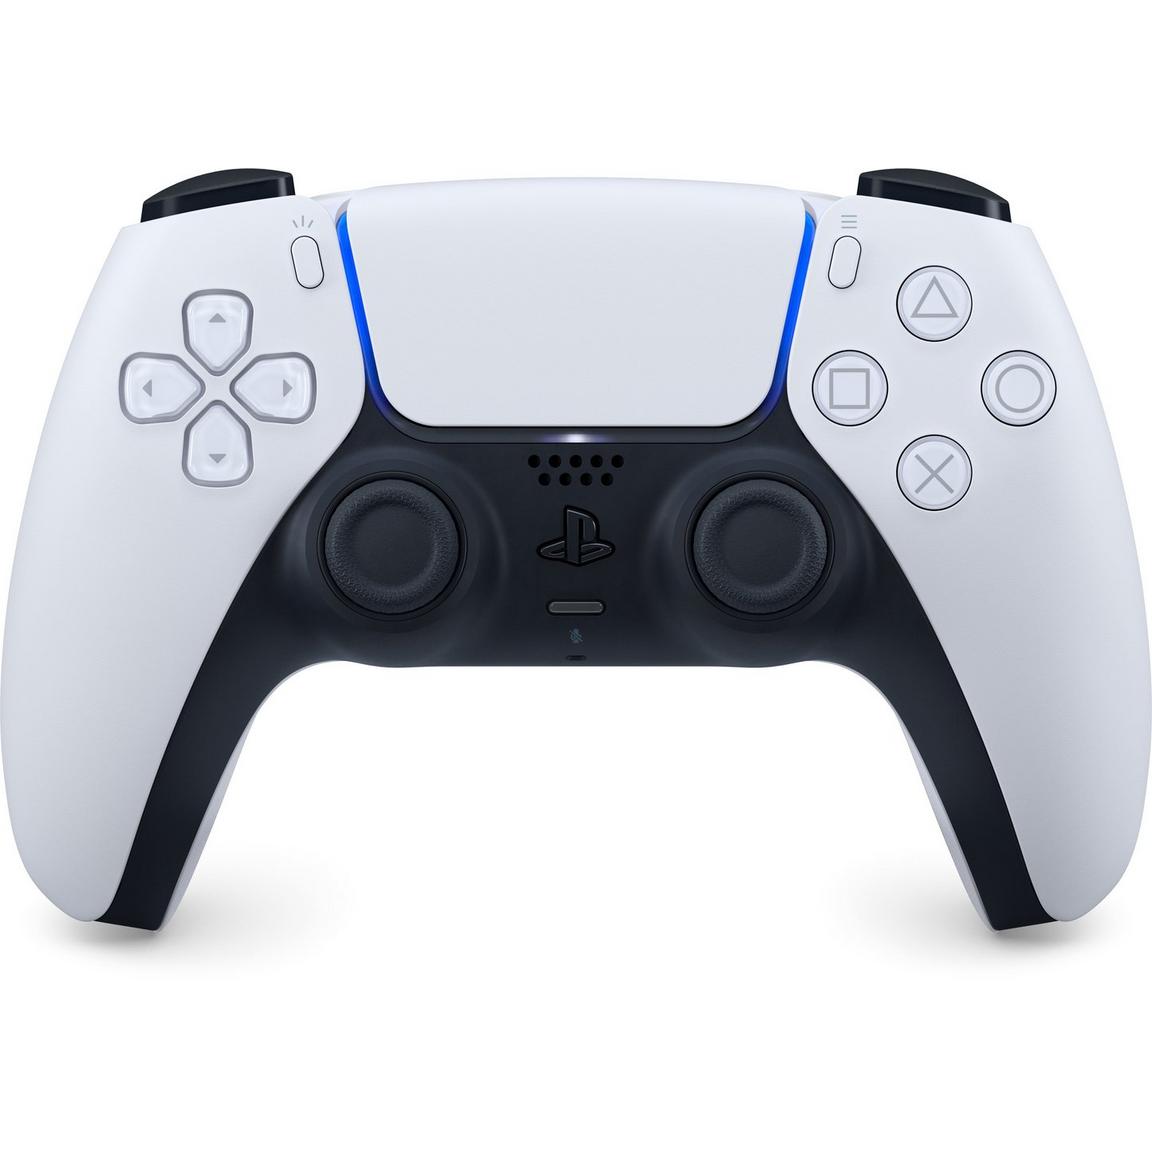

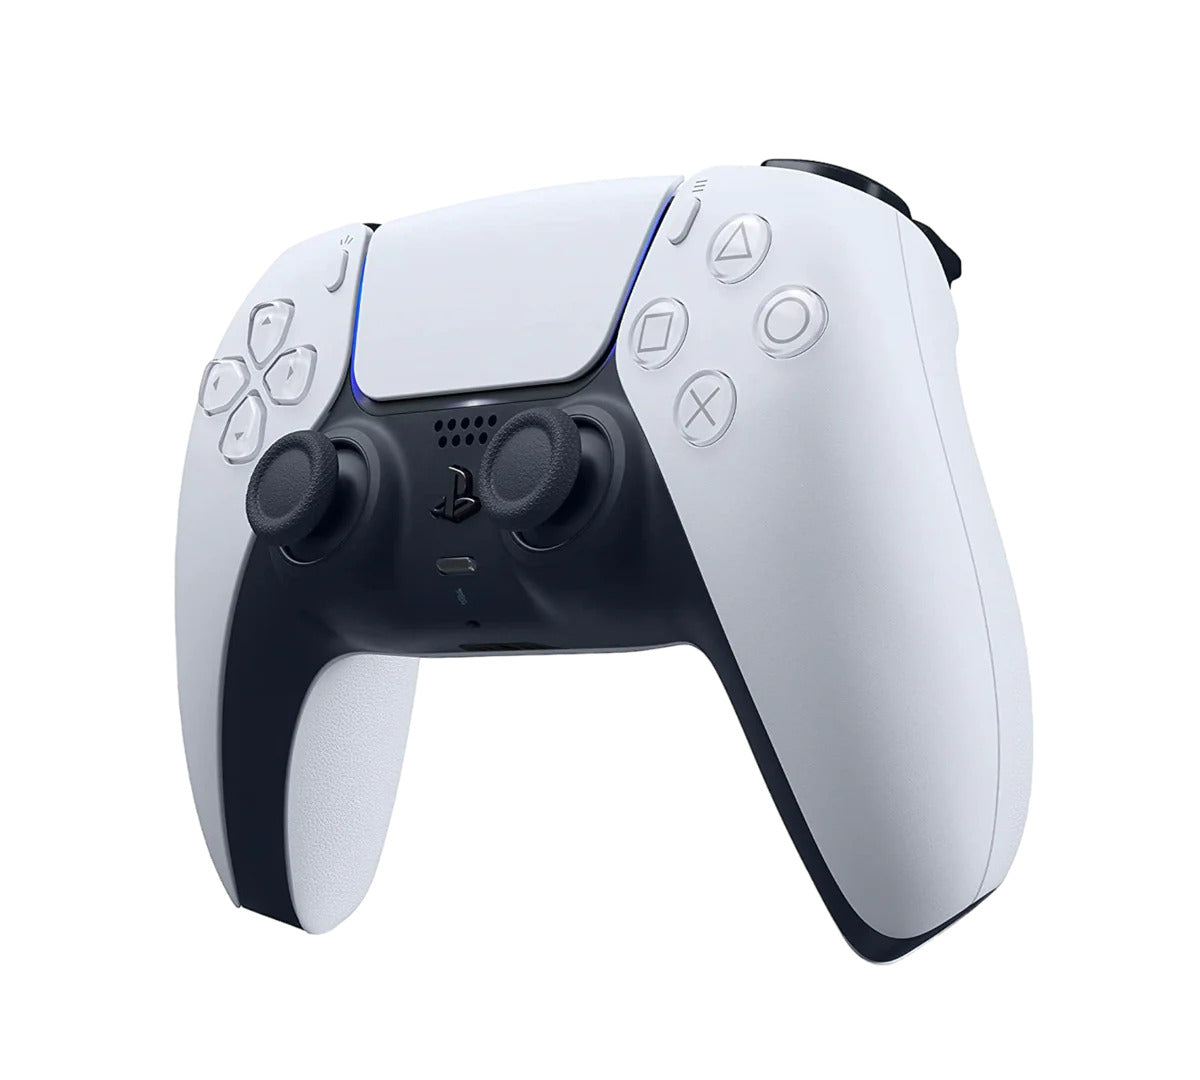
Follow Along: Handle Sides
Step #3 - Apply and Smooth Over
- Use a squeegee or soft cloth to carefully smooth out the skin onto the device, working your way from the center outwards.
- Apply gentle, even pressure to ensure the skin adheres fully and eliminate any air bubbles.
- (Optional) For curved surfaces, use a hairdryer on a low, heat setting to gently warm the skin and make it more pliable for a better fit.

Step #4 - Check for bubbles
- Once the skin is fully applied, inspect the surface for any remaining air bubbles.
- For small bubbles, use your fingertip or the edge of a squeegee to gently press them towards the edge of the skin, pushing the air out.
- For larger bubbles, carefully lift a corner of the skin near the bubble, use a pin to prick a small hole in the bubble, then smooth the skin back down and press out any remaining air.
Congratulations!
You've successfully installed your gaming skin. Now, enjoy your customized device and show off your new style!
Have Questions? Gaming Skin Installation FAQs
What is the Numbered Guide System?
The Numbered Guide System is an innovative feature on our full wrap video game skins that makes installation easier than ever. It consists of numbered dots printed directly on the skin, guiding you through the application process in the correct order.
How does the Numbered Guide System work?
- Locate the starting point (dot #1) on the skin.
- Peel back a small section of the skin with dot #1 and align it with the corresponding area on your device.
- Follow the numbered sequence (dot #2, #3, etc.) to apply the skin in sections.
- Use the squeegee tool to smooth out any air bubbles as you go.
What are the benefits of the Numbered Guide System?
- Foolproof Installation: Anyone can achieve professional-looking results, regardless of experience.
- Stress-Free Application: The clear, sequential guide eliminates confusion and frustration.
- Fast & Efficient: The numbered system allows for a quicker and more streamlined application process.
What if I make a mistake while applying the skin?
Don't panic! Here's how to fix a minor misplacement:
- Slowly lift the skin from the corner closest to the mistake using a thin object (like a guitar pick).
- (Optional) Use a hairdryer on LOW heat to loosen the adhesive slightly for easier repositioning.
- Realign the skin and press it firmly back down. Use the squeegee tool for a smooth finish.
Do I need any additional tools for installation?
We recommend having the following on hand:
- Squeegee tool (or credit card)
- Isopropyl alcohol (optional)
- Microfiber cloth (optional)
What are some aftercare tips for my newly skinned device?
- Avoid extreme temperatures, as this can affect the adhesive.
- When cleaning your device, use a microfiber cloth with water or a mild cleaning solution. Avoid harsh chemicals or abrasive cloths.
Can I reposition the skin if I make a mistake early on in the application?
Yes, in most cases. As long as you haven't rubbed the skin firmly onto the device, you can carefully lift it from a corner using a thin object like a guitar pick. Be gentle to avoid tearing the skin. If the adhesive feels too strong, using a hairdryer on LOW heat for a few seconds can help loosen it slightly for easier repositioning.
What happens if I accidentally crease or fold the skin during application?
Minor creases might smooth out as you apply the skin with the squeegee tool. However, for deeper creases, try using a hairdryer on LOW heat while gently stretching the creased area. Be careful not to overheat the skin, as this can damage the material. If the crease is too severe, it's best to cut away that section and continue with the remaining portion of the skin.
Can I reuse the skin if I mess up the application?
Unfortunately, once the adhesive is activated by pressing the skin onto the device, it's not recommended for reuse. The adhesive might lose its sticking power and lead to a poor fit.
How long should I wait before using my device after applying the skin?
It's best to allow the skin to cure completely for at least 24 hours before using your device. This ensures the adhesive bonds firmly to the surface.
Is it safe to apply the skin directly over existing decals or stickers on my device?
We recommend removing any existing decals or stickers before applying the skin. This ensures a smooth, even surface and a stronger bond for the new skin.
For further assistance, can I contact customer support?
Absolutely! Our friendly customer support team is happy to answer any questions you may have. You can find our contact information on our website.

